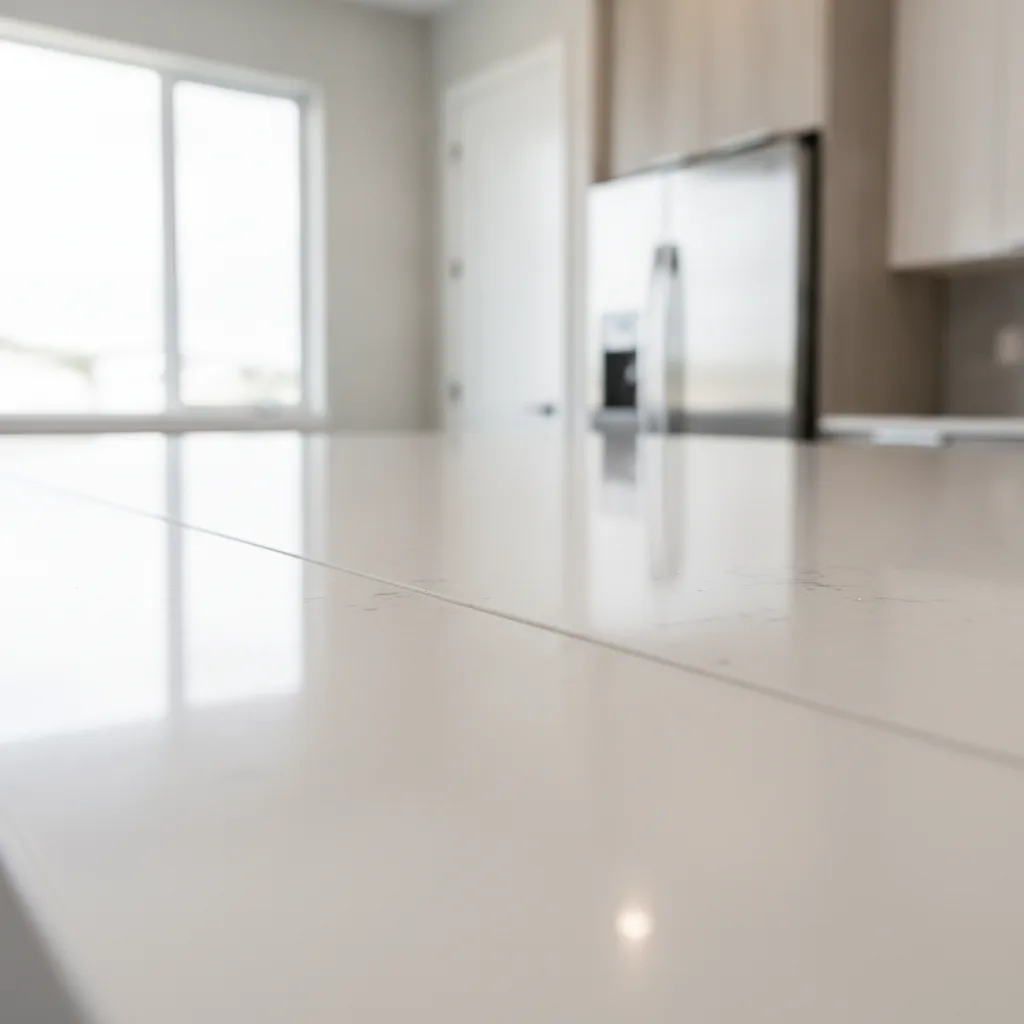
Quartz countertop seam repair depends on the type of problem. A color mismatch or a gap under 1/16 inch is DIY-repairable with a color-matched two-part epoxy from Integra Adhesives or Tenax Colorfill ($20–$60). Lippage over 1/32 inch or a gap wider than 1/16 inch exceeds the Natural Stone Institute's industry standard and gives you grounds for a warranty fix from your fabricator at no cost. A gap wider than 1/8 inch, any crack running into the slab body, or visible slab movement all require a professional re-seam ($150–$400). Never use silicone caulk or tile grout — both fail visibly within months on quartz resin surfaces.
A quartz seam that looks off after installation is one of the most common calls Fox Granite gets from Central Texas homeowners — and the answer is almost never simple. The seam might be completely normal, catching light in a way that looks wrong but measures within spec. Or it might be a fabricator error that your warranty should cover at no cost to you. Or it might need a $25 DIY fix with color-matched epoxy. Or it might be a structural problem that a surface repair will only make worse. The difference between those outcomes comes down to measurement, documentation, and knowing which of the four distinct seam problem types you actually have. This guide gives you the full diagnostic sequence, the industry tolerance numbers, and the correct repair technique for every scenario.

Every quartz kitchen over 10 feet wide needs at least one seam, because engineered quartz slabs top out at 55–65 inches wide by 120 inches long. That is a physical limit set by how quartz manufacturers press and cure the resin-and-quartz composite, not a shortcut by your fabricator. Seams are not a sign of a cheap job — they are a geometric fact.
Seam visibility in quartz is higher than in granite or marble because the engineered surface is uniform. Natural stone has pattern variation that disguises a joint; quartz does not. A good fabricator uses CNC-precision straight edges, color-matched epoxy, and careful placement to minimize how visible the seam reads from standing height. But even a flawless seam can catch light at a low angle. That is normal, and it does not mean anything was done wrong.
The Natural Stone Institute sets the industry standard for acceptable seam quality: a gap of 1/16 inch or less (ideally near-zero for polished engineered quartz) and lippage — the height difference between two pieces — of no more than 1/32 inch on a polished surface. Commit those two numbers to memory. They tell you exactly when a seam crosses from cosmetically imperfect into professionally unacceptable and give you firm grounds to demand a warranty fix from the installer.
Seam placement is one of the most consequential decisions in stone fabrication. Seams should land over cabinet partitions for structural support and stay away from sink cutouts and cooktop corners, where the narrow stone web is weakest. Ask your fabricator to review seam placement with you before templating — not after the stone is installed.
Four distinct seam problems exist, and each one has a different fix. Misdiagnose the type and you will apply the wrong repair — or void your warranty by touching something that needed a professional. Run through this list before you do anything else.
Type 1 is a color mismatch: the epoxy filler used at installation does not match the quartz slab, so the seam reads as a different color or sheen than the surrounding surface. This is a fabricator error in color matching, not a structural issue. Type 2 is a visible gap: you can see daylight or a dark line between the two pieces. Measure the gap with a feeler gauge or a business card edge. A gap under 1/32 inch is likely thermal movement — monitor it for 30 days before acting. A gap between 1/32 and 1/16 inch is DIY-repairable with color-matched epoxy. A gap over 1/16 inch requires a professional re-bond.
Type 3 is lippage: one side of the seam sits higher than the other. Run your fingernail across the seam. If you feel a step, measure it. Lippage over 1/32 inch on a polished surface exceeds the industry standard and gives you clear grounds for a warranty repair from your fabricator at no cost to you. Type 4 is the most serious: a crack runs from the seam into the slab body, or the two pieces have physically shifted. A gap wider than 1/8 inch, lippage you can feel clearly with your palm, or any crack extending into the slab body all require a professional. Structural movement is the cause — not just adhesive failure — and a surface repair will not hold.
Photograph the seam from multiple angles — straight down, at a low angle with raking light, and close-up with a coin or tape measure in the frame for scale — before cleaning or touching anything. This photo documentation is your warranty claim foundation. Some fabricators will cite a DIY repair attempt as grounds to deny a claim, even a legitimate one. Take the photos first, every time.
Quartz manufacturer warranties from brands like Cambria, Silestone, and Caesarstone cover manufacturing defects in the slab material. Installation defects — including seam quality, placement, and epoxy color matching — are the fabricator's responsibility. You need clear photos that show the problem as it appeared after installation, not after you have tried to clean, fill, or otherwise touch it.
If your seam problem is Type 3 (lippage) or Type 4 (crack or slab movement), skip Steps 4 and 5 entirely. Send your photos to the fabricator with a written request for warranty repair, citing the Natural Stone Institute standards: gap over 1/16 inch or lippage over 1/32 inch. A reputable fabricator will schedule a fix. If they resist, those photos are your leverage. An open gap that traps debris and moisture can also become a bacteria and hygiene issue over time — another reason to document and act quickly.
Do not attempt to sand down a raised seam yourself. Grinding into polished quartz changes the surface texture, removes the factory finish, and creates a visible dull patch that requires professional re-polishing to restore. A plastic razor blade held at a low angle is the only safe DIY tool for removing excess cured epoxy filler from the surrounding surface.
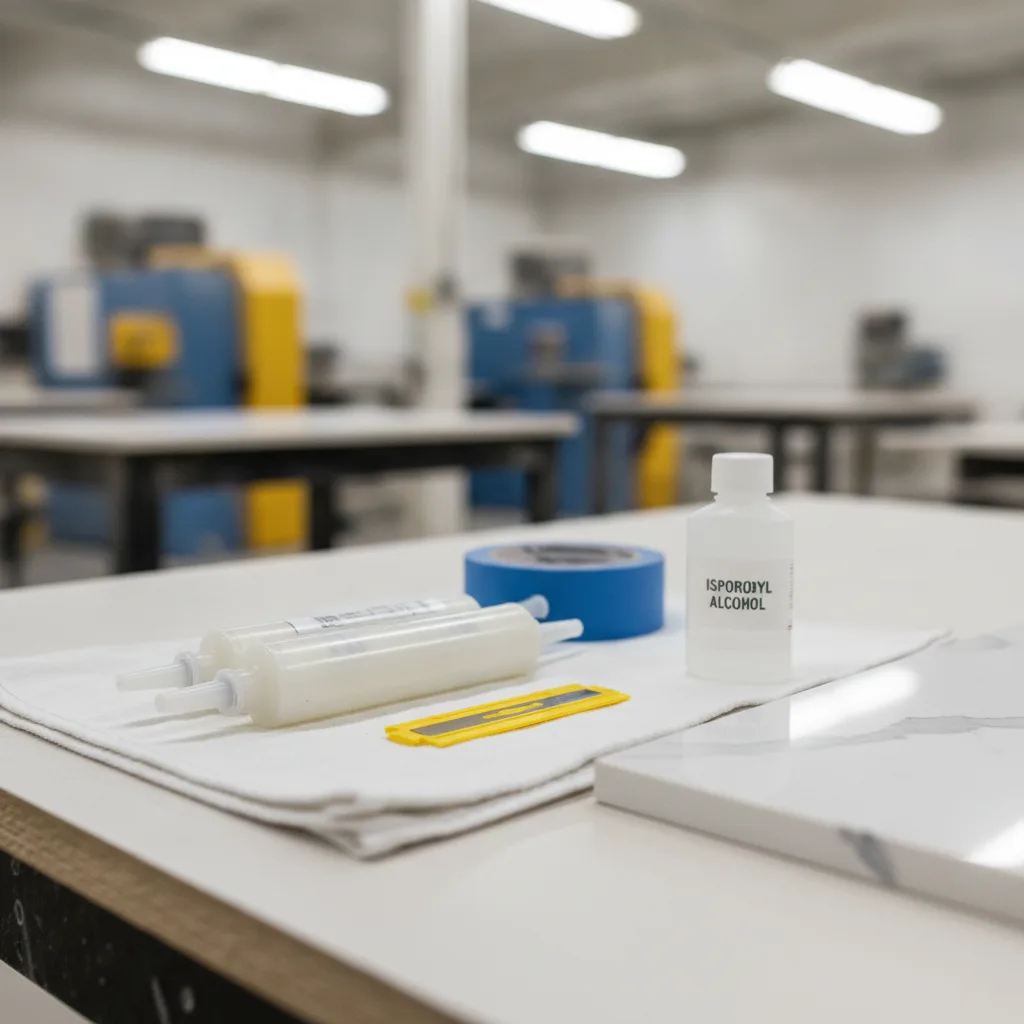
Color-matched two-part epoxy is the only correct filler for a quartz countertop seam repair. Silicone caulk, tile grout, and standard construction adhesive all fail visibly within months on quartz — they do not bond to the resin surface, they shrink, and they discolor. Trade brands Integra Adhesives and Tenax Colorfill are the most widely used in professional fabrication shops. A color-matched cartridge from a stone supplier costs $20–$60; retail repair kits run $15–$80.
Color matching is where most DIY repairs go wrong. Start with a clear (not amber-curing) epoxy base. Amber-cure products sabotage white, light gray, or cream quartz by yellowing the seam. Add dry mineral pigment in toothpick-tip amounts, mix a small test batch, and cure it on a piece of tape or cardboard before touching the stone. Most repairs need two to four color adjustments to reach an accurate match. Hold the cured test chip against the surrounding surface in natural daylight — not just under kitchen lighting — and wait for the epoxy to fully cure before judging the color.
If your quartz is a complex pattern — veined white, dark gray with movement, speckled beige — color matching gets harder and the extent of the repair may show more. Many fabricators keep leftover epoxy from your original installation. Ask them before buying your own product. A leftover cartridge matched to your specific slab is far more accurate than any retail kit mixed from generic pigments, and it is the fastest path to an invisible result.
$20–$60 (stone supplier or online)
Trade-standard two-part epoxy used by professional fabricators; available in dozens of quartz color codes and bonds correctly to engineered quartz resin without yellowing.
$25–$55 (stone supplier or online)
Widely used solvent-based filler that polishes to a surface-matching sheen on quartz and natural stone; strong alternative to Integra when color codes match.
$15–$80
Acceptable for simple solid-color quartz in white, gray, or beige when a color-matched cartridge is not available locally; always test on cardboard before applying to stone.
The correct DIY repair sequence for a Type 1 color mismatch or a Type 2 gap under 1/16 inch takes 30–60 minutes from prep to complete cure. Work at room temperature: below 60°F slows the cure; above 85°F shortens your working time to under 5 minutes. Central Texas summers make outdoor kitchens or poorly ventilated spaces a real timing risk — run the air conditioning and close the windows before you start.
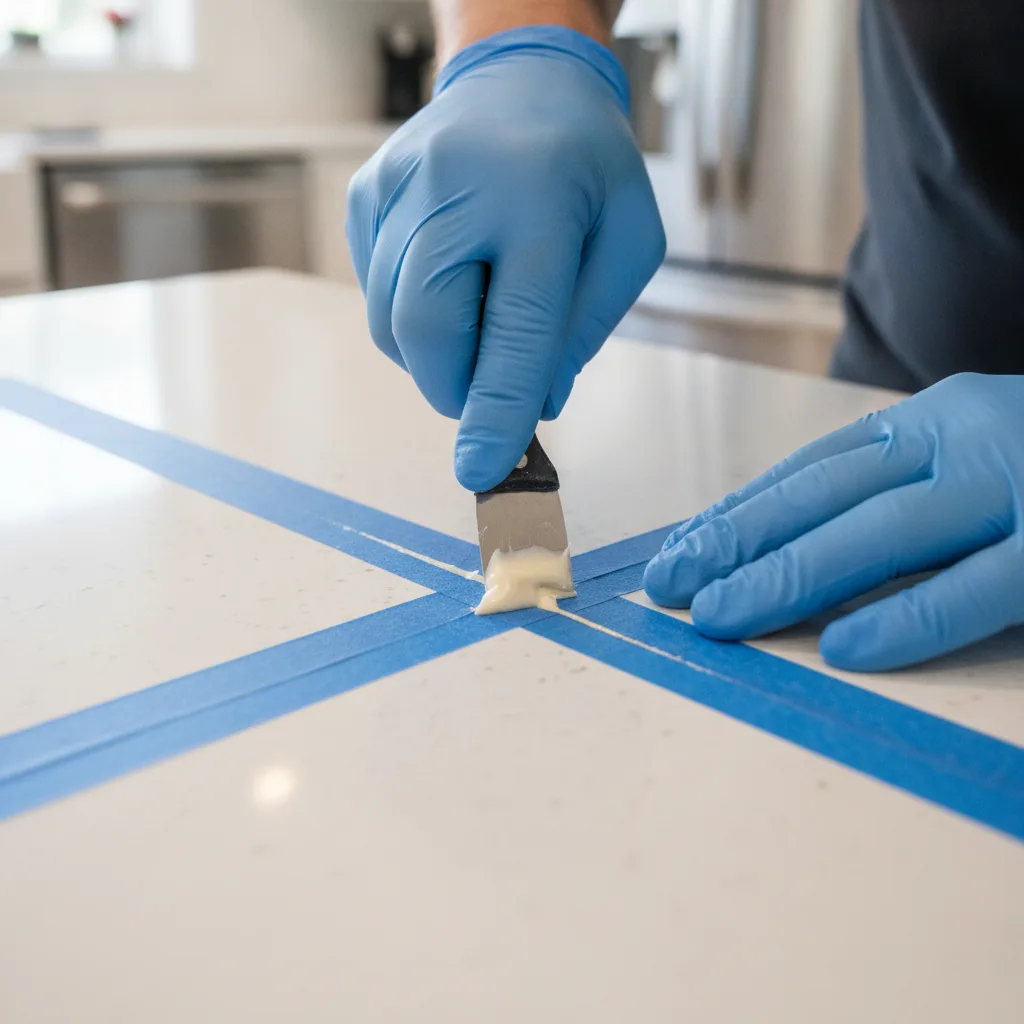
Step A: Clean the seam and surrounding surface with 90%+ isopropyl alcohol on a lint-free cloth. Remove all grease, debris, and moisture. Let it dry completely — 2 to 3 minutes minimum. Step B: Apply painter's tape on both sides of the seam, tight to the edges, so the surrounding surface stays clean. Step C: Load the color-matched epoxy into the gap using the cartridge mixing tip and fill the full seam length. Work quickly. Quartz seam epoxy gels in 5 to 15 minutes depending on product and temperature; your leveling window is just 5 to 8 minutes during the gel stage when the filler is firm but still workable. A heat gun on low can slow gelling slightly in cool conditions to extend your working time.
Step D: During the gel stage, use a plastic spreader or gloved fingertip to press the filler flush with the surrounding surface. Step E: After full cure — 20 to 60 minutes depending on product — remove the tape. Step F: Use a plastic razor blade held at a low angle (10 to 15 degrees) to shave off any high spots. Never use a metal blade; it scratches the polished quartz surface and leaves marks you cannot remove without professional re-polishing. Wipe the area clean with isopropyl alcohol. Step G: Assess the result in natural light from multiple angles. If the color match is close but the sheen differs, a small amount of automotive-grade plastic polish applied with a soft cloth can bring the repaired area's finish closer to the surrounding surface texture.
If the gap has old, failed caulk or adhesive in it from a previous repair attempt, remove it completely with a plastic pick before you clean with isopropyl alcohol. Old filler prevents new epoxy from bonding to the quartz edges, and the repair will fail again within months — often faster than the original failed fill.
A seam that has separated with actual slab movement, lippage you can feel with your hand, a gap wider than 1/8 inch, or a crack running from the seam into the slab body all require a professional fabricator. Filling a structurally failed seam with epoxy is cosmetic only — it hides the problem without addressing the root cause. The most common causes of a quartz seam failing after installation are cabinet settlement, humidity-driven wood movement under the stone, adhesive failure from a rushed installation, and poor seam placement over an unsupported span or near a sink cutout or corner. All of those causes require a fabricator to diagnose and correct before any surface repair makes sense.
As of 2026, professional costs for quartz seam repair run $75–$150 for the service call (typically credited toward the repair cost), $75–$175 for a single-seam color-fill, and $150–$400 for a full re-seam and re-bond. If a slab section needs replacement, expect $400–$1,200 or more depending on material availability and labor. Full quartz countertop replacement runs $50–$150 per square foot installed — around $1,500–$4,500 for an average 30-square-foot kitchen. Seam repair and durability holds well when the root structural cause is addressed; skipping that step means paying again within a year or two.
At Fox Granite, our in-house fabrication team handles quartz countertop seam repair and assessment across Austin, San Antonio, New Braunfels, and the Central Texas corridor — the same team that cuts and installs the stone, not a subcontractor. If your seam was installed by another company and you are not sure which of the four problem types you have, we can assess it and give you a straight answer on repair vs. replacement. No guesswork. No pressure.
$75–$175
Best option for Type 1 color mismatch or Type 2 gaps that exceed DIY tolerance — installer brings color-matched epoxy and polishing tools matched to your specific slab.
$150–$400
Required when adhesive failure, structural movement, or a gap over 1/16 inch means the seam must be fully separated, cleaned, and re-bonded from scratch.
If your quartz seam has shifted — one side is higher than the other, the gap has grown since installation, or you can see a crack running into the slab — epoxy filler is not the fix. It is a cosmetic cover over a structural problem. Cabinet settlement, moisture-driven wood movement, an unsupported span, or adhesive failure from a rushed install all require a fabricator to diagnose and correct the root cause before any surface repair makes sense. Filling it yourself may also give the original fabricator grounds to deny a warranty claim. Document with photos first, then call a professional.
When you can see the seam but the measurement is within spec, that is a cosmetic reality you can live with or address with a $25–$60 color-matched epoxy fix. When the measurement is outside the Natural Stone Institute's tolerance — or when one side of the seam is higher than the other — you have a legitimate warranty claim and should not spend a dollar on materials until the fabricator responds in writing. And when the slab has moved, cracked, or shifted, the only right move is a professional re-seam. For quartz countertop seam repair, assessment, and installation across Austin, San Antonio, New Braunfels, and the surrounding Central Texas area, Fox Granite's in-house fabrication team can diagnose your seam problem and fix it right the first time. Contact us to schedule your free consultation or get your free estimate.
Ready to get started? Contact Fox Granite today.


BY APPOINTMENT ONLY
1379 Wald Road
New Braunfels, TX 78132
Austin, San Antonio, Cedar Park, Kyle, New Braunfels, Del Valle, Elgin, Lago Vista, Shady Hollow, Onion Creek, Buda, San Marcos, Lockhart, Temple, Wimberley, Dripping Springs, Bee Cave, Lakeway, Leander, Anderson Mill, Jollyville, Spicewood Springs, Round Rock, Georgetown, Pflugerville, Manor, Taylor, Manchaca, Mountain City, Hutto, West Lake Hills, Bastrop, Liberty Hill, Driftwood, Sun City, Steiner Ranch.