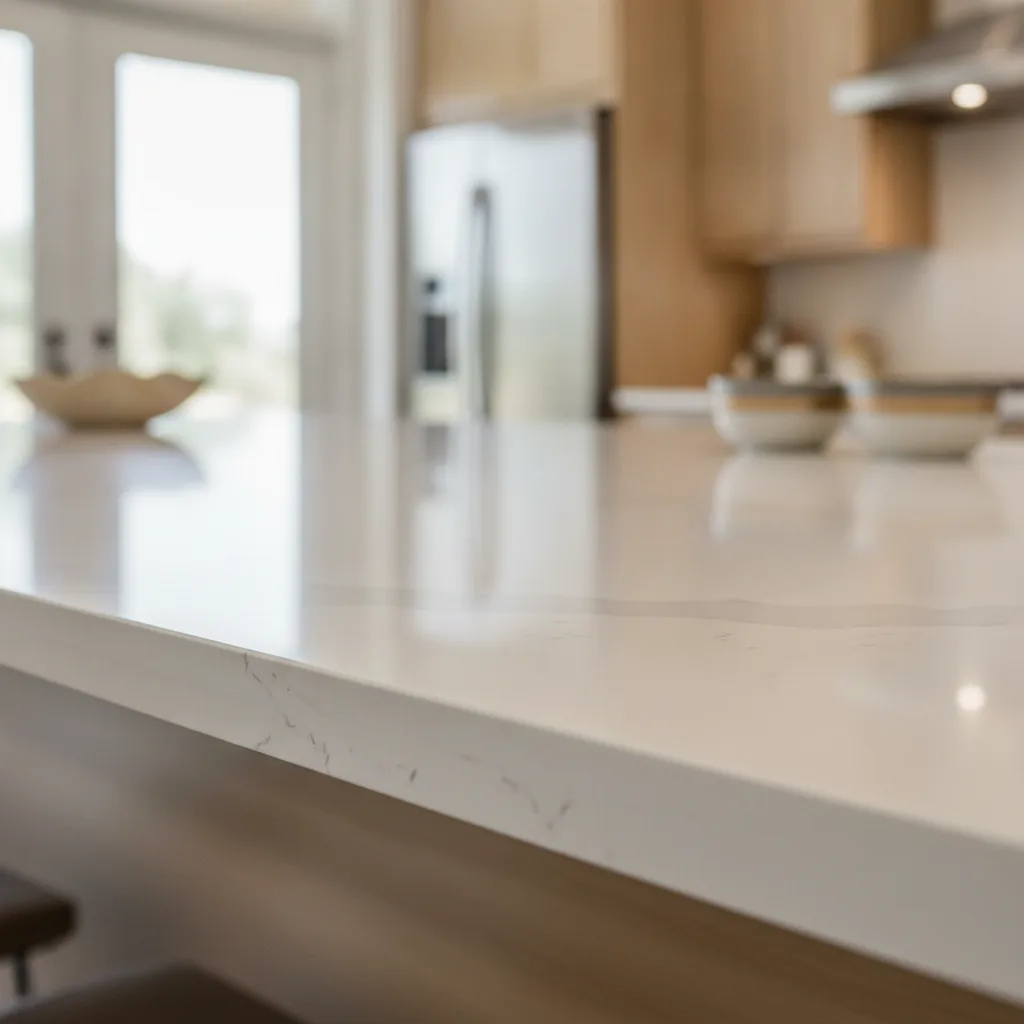
To remove cured quartz countertop seam filler residue safely, hold a plastic razor blade at a 10-to-15-degree low angle and make multiple short passes to shave the epoxy bead flush with the polished quartz surface. Never use a metal blade or putty knife — both cause permanent scratches. Follow mechanical removal with a targeted acetone wipe on a lint-free cloth, then neutralize with water. A color-matched two-part epoxy such as Integra Adhesives Surface Bonder Xi+ is the only correct product for refilling a small open gap — silicone caulk, standard construction adhesive, and tile grout all fail on engineered stone. Photograph the seam before touching anything; a DIY attempt can give your fabricator grounds to deny a warranty claim.
The morning after a quartz countertop installation, most homeowners notice something they didn't expect: a small ridge of cured epoxy along the seam line, a hazy film where the installation tape sat, or — worst case — a visible gap where the two slabs meet. Before you reach for a putty knife or search for a filler product, stop. The difference between a safe DIY fix and a void warranty often comes down to what you do in the first 10 minutes. This guide walks you through exactly what we tell homeowners after our own installations: how to diagnose the mark, remove quartz countertop seam filler residue safely, color-match and apply epoxy for a small open gap, and recognize when the problem is a fabricator's responsibility — not yours to fix.
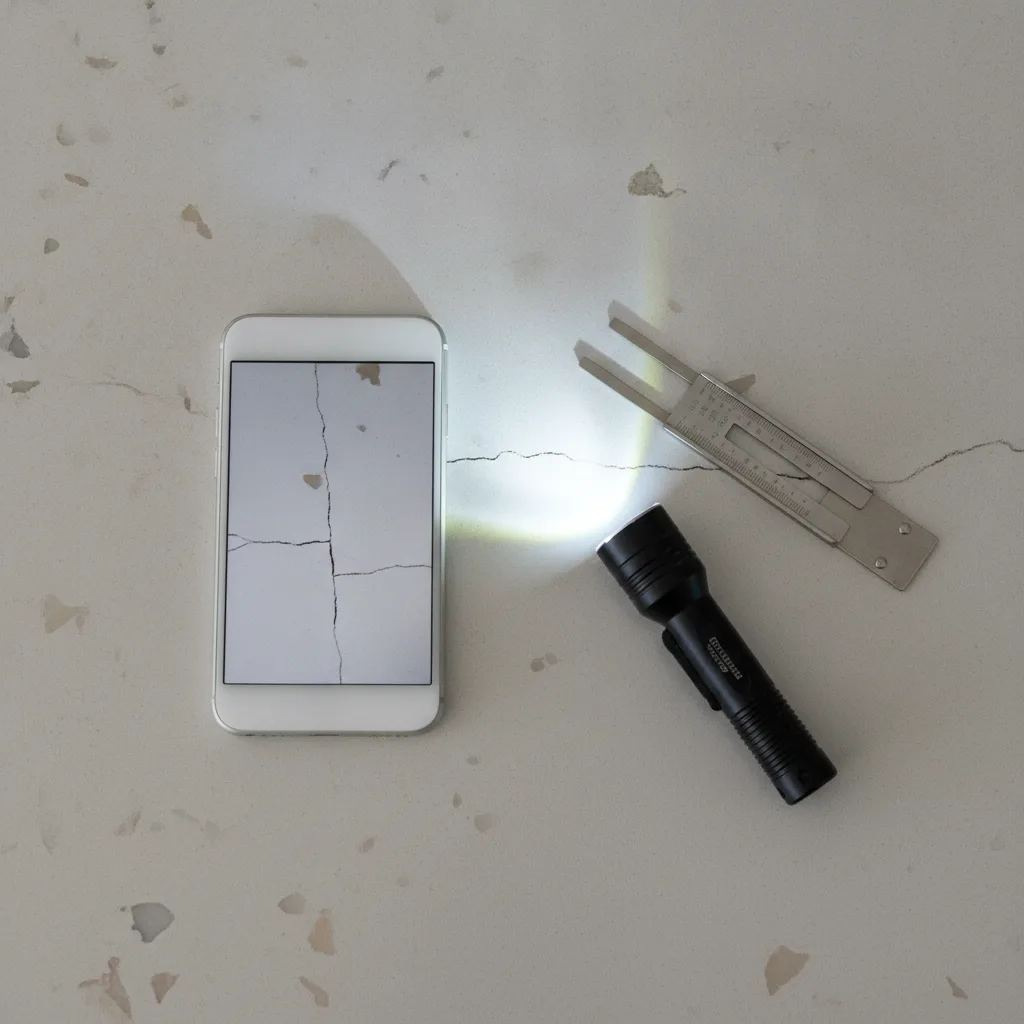
The first rule we tell every homeowner after installation: photograph the seam before picking up any tool. A DIY attempt — even a careful one — can give your fabricator grounds to deny a warranty claim. Snap close-up photos in multiple lighting conditions, including a raking light test: hold a flashlight nearly flat to the surface and slide it slowly along the seam line. That low angle reveals lippage (a height difference between the two slabs), squeeze-out ridges, color mismatch, and an open gap that normal overhead lighting hides entirely.
Once you have documentation, identify which of four scenarios you're actually dealing with. Scenario one: cured epoxy squeeze-out sitting proud of the polished quartz surface — a hard, slightly glossy ridge along one or both sides of the seam. Scenario two: hazy residue or a faint white film from the seam adhesive or installation tape adhesive. Scenario three: an open or cracked gap where the filler has failed or was never fully filled. Scenario four: a seam that moves, shifts, or has visible lippage you can feel running a fingernail across. Scenarios one and two are safe DIY territory. Scenario three may be DIY-viable depending on gap width. Scenario four is a fabricator call — not a surface repair.
Gap width is the single most important measurement you can take. Use a tape measure or a feeler gauge. The Natural Stone Institute sets the industry standard for acceptable seam quality in engineered stone: a maximum gap of 1/16 inch and lippage of no more than 1/32 inch on a polished surface. A seam outside those tolerances is grounds for a warranty claim against your fabricator — and the written standard to cite when you contact them. Gaps wider than 1/8 inch are beyond DIY territory; filler alone won't cure with the same strength in an oversized joint, and a visible gap at that width won't be disguised by color-matched epoxy.
Free / already owned
Held flat to the surface for a raking light test, it reveals lippage and squeeze-out ridges that normal kitchen lighting completely hides.
$8–$15
Measures gap width precisely so you can compare against the 1/16-inch Natural Stone Institute tolerance standard and decide if DIY quartz seam repair is viable.
Do not sand, grind, or apply any product to a seam you believe is outside NSI tolerances before contacting your fabricator in writing. Sanding a raised quartz seam creates a visible dull patch and can void your fabricator warranty. Document first, repair second — or let the fabricator repair it entirely.
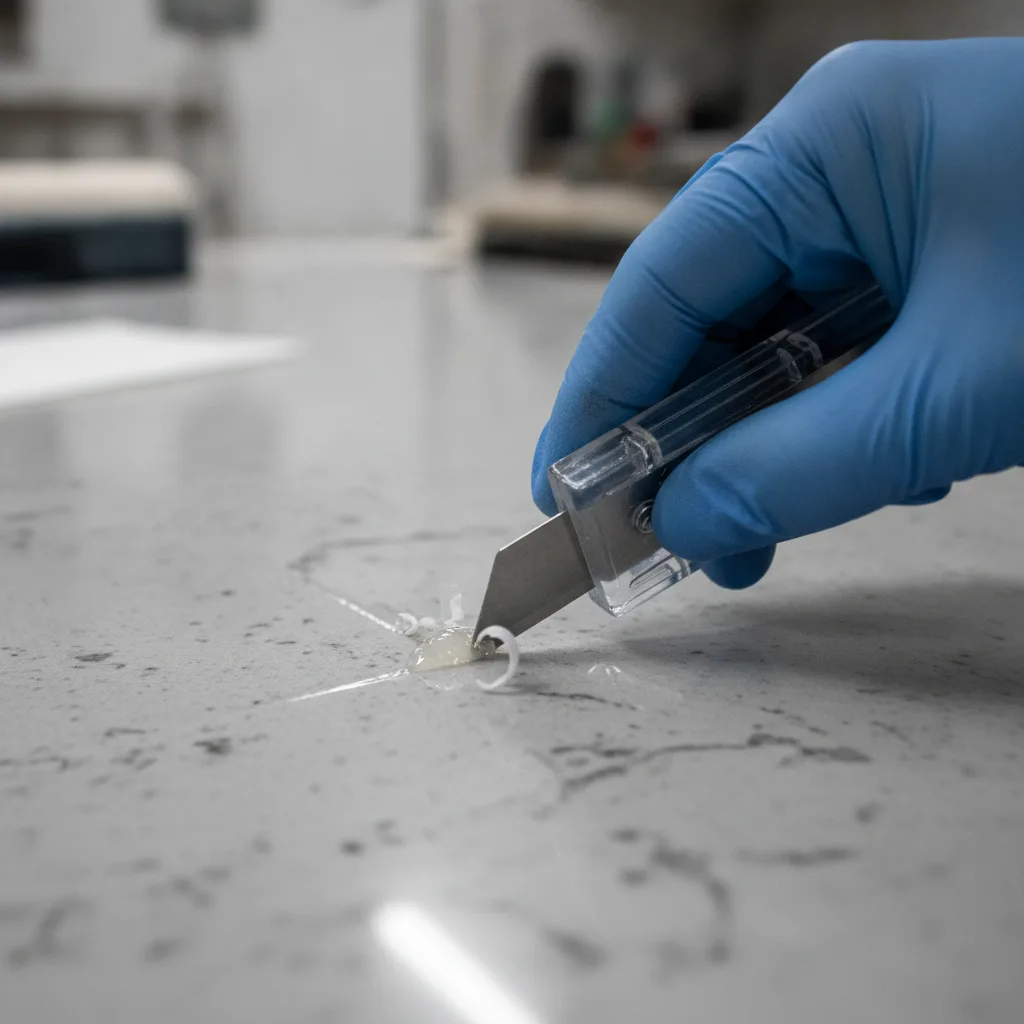
A plastic razor blade held at a low angle — 10 to 15 degrees from the surface — is the only safe DIY tool for removing excess cured epoxy filler from a polished quartz surface. A metal blade will scratch the polished quartz finish permanently; there is no way to undo that without professional re-polishing. Hold the blade almost flat, apply light forward pressure, and make multiple short passes rather than one heavy stroke. The goal is to shave the raised epoxy bead down flush with the surrounding surface, not to pry or pop it.
Work in one direction along the seam line. After two or three passes, wipe the blade clean and check your progress with the raking flashlight. You're looking for the moment the epoxy ridge disappears and the blade starts riding flat on the quartz. Stop there. Going past flush means the blade is now contacting the polished quartz surface itself, which can leave micro-abrasions even with a plastic blade over time.
After mechanical removal, a quick wipe with acetone on a lint-free cloth picks up the residue left in the low spots around the joint. Apply it in a targeted way — a small amount on the cloth, one pass, then remove it immediately. Don't let acetone pool or sit on the polished quartz surface for more than a few seconds; it can dull the resin finish with prolonged contact. Follow immediately with a clean water wipe to neutralize. A putty knife or metal scraper is never the right substitute here — both damage the factory finish.
$6–$12 at hardware stores
The only safe mechanical tool for removing proud epoxy filler from a polished quartz surface — a metal blade causes permanent scratches.
$5–$10 per quart
Softens and lifts cured epoxy residue after mechanical removal without damaging the quartz substrate when used in brief, targeted applications.
$8–$12 for a pack
Paper towels leave small fibers in the seam joint; lint-free cloth gives a clean working surface and prevents debris from contaminating the bond area.
If the job-site temperature is below 50°F, the cured epoxy will be harder and more brittle than normal. Use a heat gun on a low setting to gently warm the epoxy bead for 20 to 30 seconds before scraping. This softens it slightly and reduces the chance of chipping the quartz edges during removal.
Old seam filler must be completely removed before a re-fill — and this is the step that DIY repairs most often skip. Leftover cured epoxy prevents new epoxy from bonding to the quartz edges, and a repair done over contaminated surfaces will fail again within months. A wooden or plastic pick is the correct tool for cleaning inside the joint. Metal picks chip quartz edges; even a small chip changes the seam appearance and weakens the bond area for the adhesive that cures against it.
Work the plastic pick along the joint to lift any remaining filler fragments, dried adhesive, and debris. Follow with 90%+ isopropyl alcohol applied to a folded corner of your lint-free cloth, then run it through the joint in one direction. This step removes the grease, oils, and silicone residue that are invisible to the eye but catastrophic to epoxy bond strength. A seam that pops open after repair traces almost always to a contaminated bond line — not to weak epoxy or a poor color-matched adhesive.
Once the joint is clean, apply painter's tape to both sides of the seam, running it tight to the edge of the joint. This protects the surrounding surface from fresh epoxy and gives you a clean removal line. Press the tape firmly so no epoxy can bleed underneath. The tape also serves as your depth guide: fill the joint just slightly proud of the tape surface so you have material to scrape flush after the adhesive cures. Pull the tape at a low angle before the epoxy reaches full cure to avoid pulling cured filler back out of the joint.
Free / $4–$8
Clears old filler fragments and debris from inside the joint without chipping quartz edges the way a metal pick or putty knife would.
$4–$8 per bottle
Cuts grease, oils, and silicone residue from the bond surface — the invisible contamination most responsible for epoxy bond failures.
$5–$9 per roll
Protects the polished quartz surface on both sides of the joint during epoxy application and gives a clean removal line when you remove tape after partial cure.
Standard construction adhesive, silicone caulk, tile grout, and clear silicone are the wrong products for quartz seam repairs. They don't bond to engineered stone's resin surface, discolor quickly, and look visibly different from the slab body. Only a two-part color-matched polyester or acrylic epoxy is the correct filler — nothing else will hold or blend.
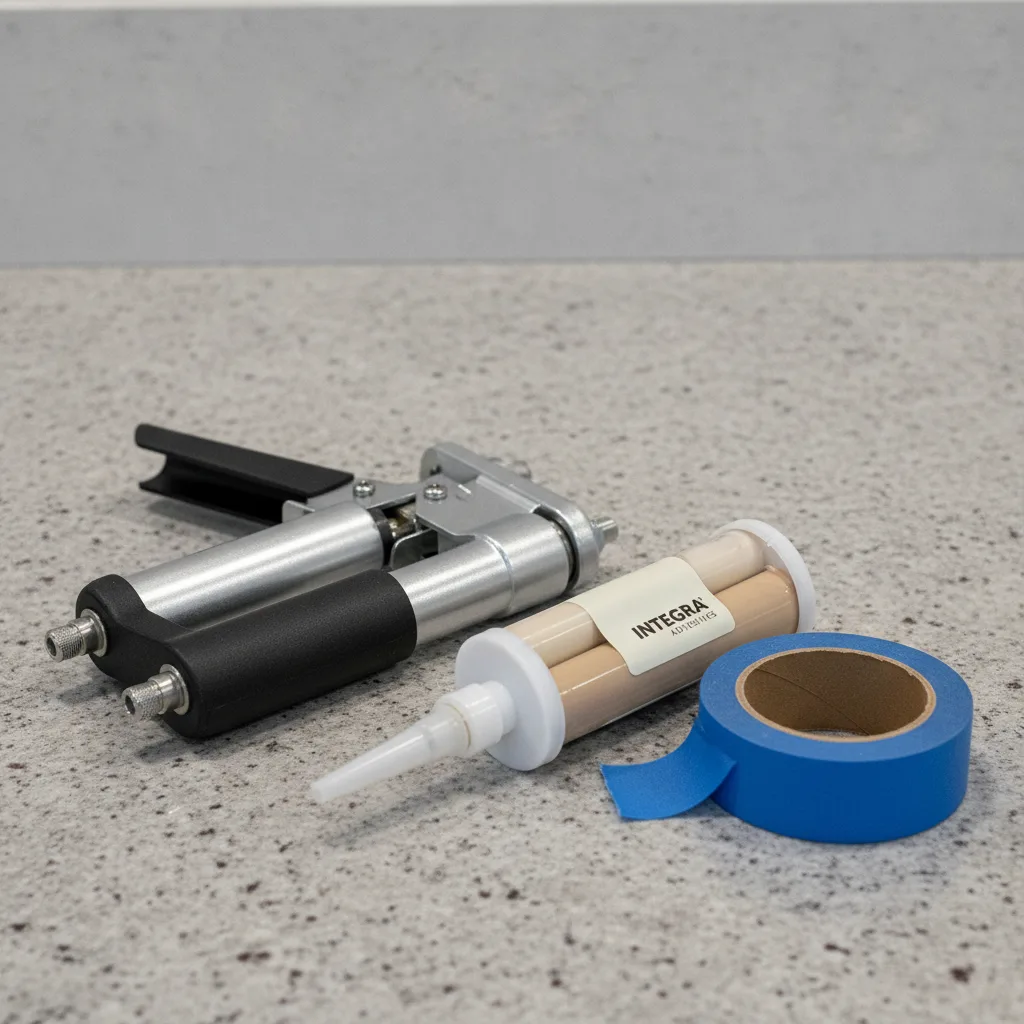
Color-matched epoxy is what separates a repair that disappears under normal kitchen lighting from one that draws the eye every morning. Integra Adhesives Surface Bonder Xi+ is the professional standard, available in 300-plus pre-mixed colors matched to all major quartz brands including Cambria, Silestone, Caesarstone, and Hanstone. Tenax Colorfill is the other widely used alternative. Both come in cartridge form — typically $20–$60 per cartridge from stone supply distributors — and require a standard dual-cartridge dispensing gun. Your original fabricator may also hold a job-specific leftover cartridge; call and ask before ordering online. A reputable fabricator keeps these on hand for exactly this situation, and that cartridge will give you an exact color match.
Before committing to the repair, run a small test batch of the color-matched adhesive on a scrap piece of quartz or an inconspicuous area like under an overhang. Epoxy often cures slightly darker than it looks wet — sometimes noticeably so on light gray or white slabs where the color difference shows against the slab body. The professional approach is to mix a shade slightly lighter than your target color and let that small test batch fully cure before committing. This single step saves a lot of frustration, especially on quartz with veining or pattern variation where color matching is harder to get right on the first try.
One more honest reality check on seam visibility: even a well-executed color-matched repair will show under raking light because cured epoxy carries a slightly different surface sheen than the polished quartz surrounding it. Under normal overhead or under-cabinet kitchen lighting, a clean repair is effectively invisible. Set that expectation before you start. A flawless seam under all lighting conditions is not a realistic DIY outcome — and it isn't always achievable professionally either. Seam visibility is reduced, not eliminated, by good technique and a well-matched color-matched epoxy.
$26–$60 per cartridge
The professional standard for color-matched quartz seam epoxy — 300-plus colors matched to all major quartz brands, with a 10–15 minute working time and 20–30 minute fixture time.
$20–$45 per cartridge
Widely available color-matched adhesive alternative with strong color matching for common quartz brands and similar working time to Integra.
$15–$30
Required to mix and dispense two-part epoxy cartridges accurately — the mix ratio matters for proper cure strength and color consistency.
Call your original fabricator and ask if they kept a leftover cartridge from your installation. Many reputable fabricators hold job-specific color-matched adhesives for exactly this situation. If yours did, the color match will be exact — no guesswork, no test batch, no risk of a visible color mismatch against the slab body.
Dispense a small amount of epoxy into the joint, working in short sections of 12 to 18 inches at a time. Fill the joint slightly proud of the tape surface — just enough that you have material to scrape back flush after the adhesive cures. The gel stage is your most important timing window: roughly 5 to 8 minutes after dispensing, the filler firms up enough to hold its shape but is still workable. During that window, press the filler flush with a plastic spreader or a gloved fingertip — a plastic spatula also works well — pressing it tight into the joint and removing any air pockets. If you miss the gel stage and the epoxy sets proud of the surrounding surface, you're back to the plastic razor blade in Step 2.
Full cure for most two-part quartz seam epoxies takes 20 to 60 minutes before you can scrape the bead flush. Integra Surface Bonder Xi+ reaches fixture hardness in 20 to 30 minutes at room temperature. In cool conditions — below 50°F — budget 90 minutes or more; a cold substrate slows the cure chemistry significantly. Do not rush this step. Scraping before the epoxy is workable smears the filler and pulls it out of the joint, which means you have to clean and re-fill the whole section.
Once the epoxy is firm, remove tape at a low angle before scraping — pulling tape after the epoxy reaches full cure can remove cured material from the joint. Then use the plastic razor blade at 10 to 15 degrees to bring the filler flush with the surrounding surface, using the same multiple-light-pass technique from Step 2. Finish with a wipe of isopropyl alcohol on a lint-free cloth to clean the seam area and restore the surface sheen. Wait the full post-cure period — typically one to two additional hours — before returning the countertop to normal use.
The 5-to-8-minute gel stage is the only window to press the filler flush by hand. Set a timer the moment you start dispensing. Work in short sections so you don't outpace the working time — Integra Xi+ gives you 10 to 15 minutes total before the epoxy is no longer workable.
Some quartz seam problems are surface repair territory. Others are fabricator territory, full stop. The clearest signals that DIY is the wrong call: you can feel lippage when running your hand across the joint — that height difference between the two slabs requires professional grinding and re-polishing, not filler; the gap is wider than 1/8 inch, where a visible gap at that width won't be hidden by color-matched epoxy and the filler won't cure with the same strength; or the seam has separated because of structural movement from cabinet settlement, humidity-driven wood movement, poor seam placement over an unsupported span near a sink cutout or corner, or adhesive failure from a rushed installation. Surface filler does not fix those root causes. These are installation defects that fall on the fabricator.
Professional color-fill seam repair runs $75 to $175 for a single seam — one to two hours of labor. A full professional re-seam, where the fabricator re-bonds the same slabs with fresh adhesive, runs $150 to $400 depending on seam length and access difficulty. Those are not large numbers against the cost of the countertop itself, and they come with a professional standing behind the result. Sanding or grinding a raised seam yourself, by contrast, creates a dull patch that costs more to re-polish than the re-seam would have cost in the first place. A polishing compound applied over surface damage from DIY grinding rarely restores the factory finish to its original quality.
If your seam is outside NSI tolerances and the fabricator installed it, the repair is their responsibility — not yours to pay for. Document the gap width and lippage with measurements and photos. Contact the fabricator in writing, cite the Natural Stone Institute tolerance standard, and request a written response. Most quartz manufacturers like Cambria, Silestone, and Caesarstone cover slab manufacturing defects but place installation workmanship — including seam quality and seam placement — squarely on the fabricator or countertop installers who performed the work. Seam separation from structural movement is typically excluded from both, which is why documenting the cause of the failure matters as much as documenting the seam condition itself.
If you're in Austin, San Antonio, New Braunfels, or anywhere in the Central Texas area and your countertop seam is outside tolerance, call us before touching anything. We've completed over 10,000 installations since 2010 and know exactly what acceptable seam quality looks like — and when a seam problem is a warranty issue, not a DIY project. A free consultation costs nothing and protects your warranty.
Sanding a raised countertop seam yourself damages the factory finish and creates a visible dull patch on the polished quartz surface. That patch requires professional re-polishing to restore — and that repair costs more than a professional re-seam would have in the first place. Lippage you can feel when running your hand across the seam is a job for a stone restoration professional, not sandpaper. The plastic razor blade technique in Step 2 is safe for removing cured epoxy squeeze-out only — not for correcting a height difference between two slabs.
A successful quartz countertop seam filler repair looks like nothing happened — a clean, color-matched joint under normal kitchen lighting, with no ridge, no haze, and no visible gap. Get there by following the sequence: document first, diagnose the mark type, remove cured epoxy residue with a plastic razor blade at a low angle, clean the bond surface completely with isopropyl alcohol, test your color-matched epoxy before committing, and apply it in short sections during the gel stage. For quartz countertop seam repair in Austin, San Antonio, New Braunfels, and the surrounding Central Texas area, trust Fox Granite. We've completed over 10,000 installations since 2010, and we know exactly what a clean, color-matched seam should look like — and when a seam problem is a warranty issue, not a DIY project. Contact us today to schedule your free consultation, or call (512) 653-5541 to talk through what you're seeing.
Ready to get started? Contact Fox Granite today.


BY APPOINTMENT ONLY
1379 Wald Road
New Braunfels, TX 78132
Austin, San Antonio, Cedar Park, Kyle, New Braunfels, Del Valle, Elgin, Lago Vista, Shady Hollow, Onion Creek, Buda, San Marcos, Lockhart, Temple, Wimberley, Dripping Springs, Bee Cave, Lakeway, Leander, Anderson Mill, Jollyville, Spicewood Springs, Round Rock, Georgetown, Pflugerville, Manor, Taylor, Manchaca, Mountain City, Hutto, West Lake Hills, Bastrop, Liberty Hill, Driftwood, Sun City, Steiner Ranch.