
Granite countertop seams are unavoidable in most kitchens because standard granite slabs max out at 108–132 inches long — and most kitchen layouts exceed that span or turn a corner. Seams must stay at least 6 inches from any inside corner (8–12 inches is the professional standard) and never land over a dishwasher opening. The Natural Stone Institute sets the benchmark at no wider than 1/16 inch, filled with color-matched epoxy, with no more than 1/32 inch of height difference between the two pieces. On busy-pattern granites like Santa Cecilia, a well-placed seam can be nearly invisible. On solid-color stone like Absolute Black, expect it to be visible up close regardless of craftsmanship. Seams are normal — the question is whether they're placed and executed correctly.
Granite countertop seams catch most homeowners off guard. Your fabricator mentions them at the templating appointment and you wonder — is something wrong with my layout? Is this going to look bad? The short answer: seams are normal, they're structural, and they exist because granite starts as a finite natural slab pulled from the ground. The craftsmanship question isn't whether seams appear — it's where they go, how tight they are when installed, and whether your fabricator made the right placement decisions for your specific kitchen or bathroom layout. This guide walks you through exactly what drives seam placement, what the structural rules are, how skilled fabricators minimize visual impact, and what a properly executed seam actually looks and feels like — so you arrive at installation day with accurate expectations instead of surprises.
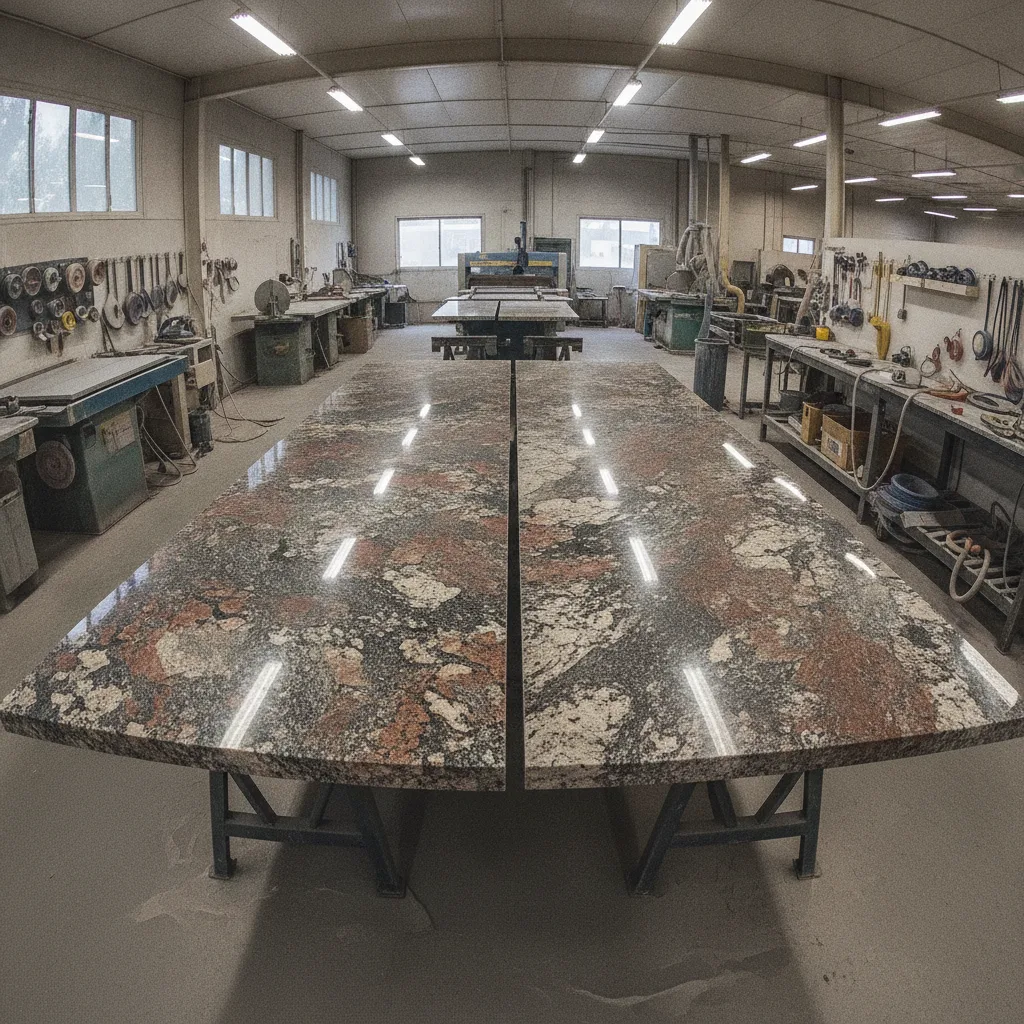
Granite countertop seams exist because granite slabs have a fixed physical size — and most kitchen layouts are larger than a single slab. Standard granite slabs run 108–132 inches long by 60–78 inches wide, which works out to roughly 50–70 square feet of usable surface area per slab. The moment your counter run exceeds about 90 inches, or your layout turns a corner, you need at least two pieces of stone joined at a seam.
Slab size isn't the only reason seams appear. Tight doorways, narrow hallways during delivery, cabinet soffits, and wall sections that lock a piece of stone in place can all force a cut even on a shorter run. Fabricators cap natural stone runs at approximately 90 inches (about 7.5 feet) for transport and structural safety — even when the slab is technically long enough to span further. So an L-shaped kitchen, a U-shaped kitchen, or any island over 7.5 feet will almost always require at least one granite seam, without exception.
Knowing this upfront removes most of the surprise. Seams are normal. They're not a sign of cheap work or corner-cutting. They're a structural reality of working with natural stone that comes out of the ground in finite slab sizes. The craftsmanship question isn't whether seams exist — it's where they go and how tight and well-matched they are once installed.
If a fabricator claims your entire U-shaped kitchen can be done in one seamless piece, ask for the specific slab dimensions to confirm. Most U-shaped kitchens require 3–4 pieces of stone. A one-piece claim on a large layout is a red flag for either a misunderstanding or overselling.
Seam placement follows strict structural rules — and violating them causes real damage over time. The most critical rule: seams must never land within 6 inches of an inside corner. Inside corners are stress concentration points. A seam placed too close will eventually crack along the joint line as the stone flexes with temperature changes and daily use. The safe minimum is 6 inches from any inside corner; 8–12 inches is the professional standard.
Seams over unsupported spans are equally dangerous. Any span greater than 12–16 inches without cabinet or structural support underneath requires rodding or additional reinforcement. Seams placed directly over a dishwasher opening are explicitly prohibited — the repeated flexural load from opening and closing the dishwasher door creates adhesive fatigue and will cause the seam to fail over time. Proper support on both sides of every seam joint ensures a durable installation and isn't optional.
These rules aren't suggestions — they're industry-standard countertop fabrication requirements. A seam placed over your dishwasher or within 3 inches of a corner isn't an aggressive design choice; it's a defect. When you review a templating plan with your fabricator, ask specifically where each seam lands relative to inside corners and appliance openings before a single cut is made.
Free / already owned
Verify seam distances from inside corners and appliance openings on your templating diagram — you want at least 8 inches of clearance at every corner.
Free
Mark appliance locations (dishwasher, range, refrigerator) so your fabricator can confirm no seam lands over an unsupported opening during templating.
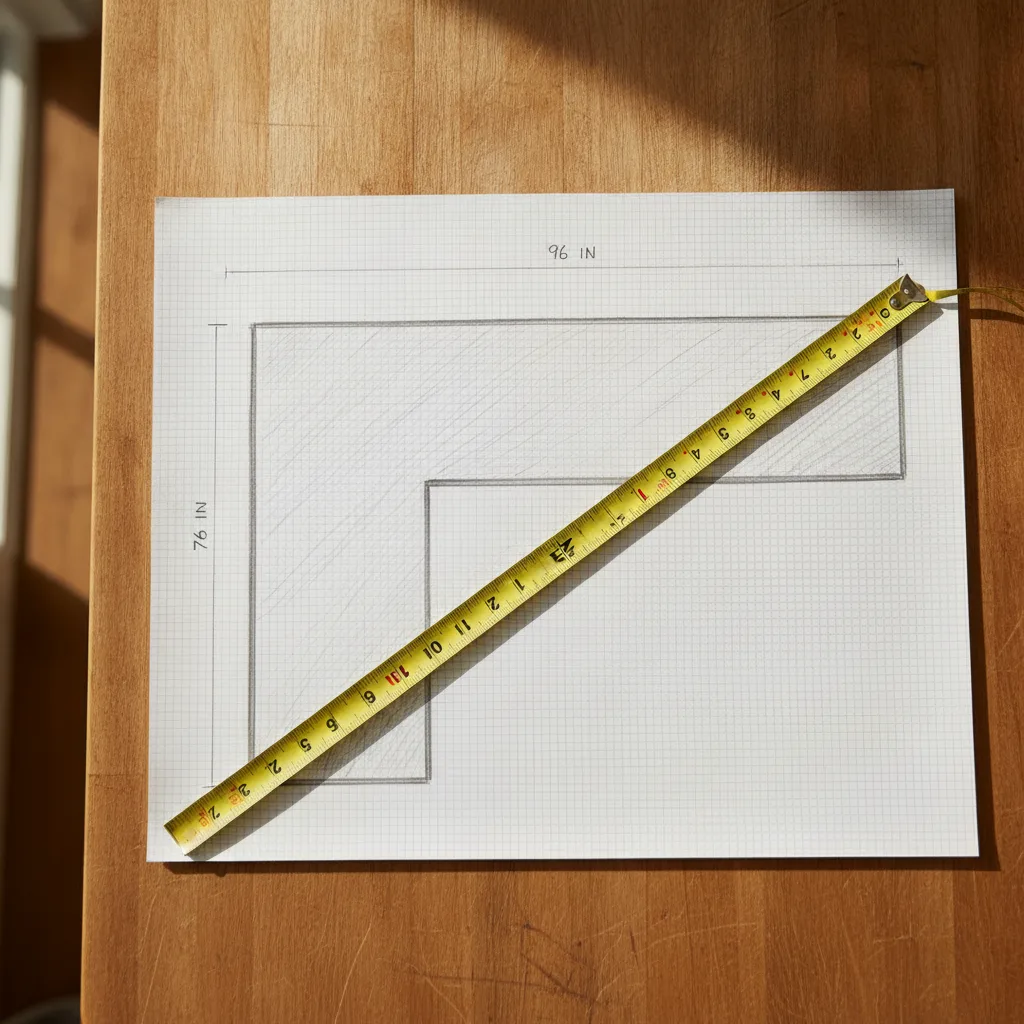
Seam placement strategy starts with your layout math. Standard kitchen countertop depth is 25 inches, so a single granite slab (at 60–78 inches wide) typically covers the full depth of one counter run with material left for overhang and edge work. The seam question is entirely about length. If your longest straight line of counter exceeds 90 inches, plan for a seam. If your kitchen has an L-shape, U-shape, or peninsula, plan for multiple seams — one at each directional change plus any run that exceeds 90 inches.
For L-shaped kitchens, the seam typically falls at the inside corner transition between the two counter runs. For U-shaped kitchens, expect at least two seams — one at each inside corner leg. Islands over 7.5 feet get a seam somewhere along the long run. The fabricator's job during templating is to position that seam in the lowest-visibility zone possible: away from your primary sightlines, near an appliance break, or — the best possible placement — running through your sink cutout.
Running a seam through the center of the sink cutout is the most effective technique to hide seams in a kitchen layout. The sink rim covers the central joint, and the seam continues only a few inches to each side of the cutout where it's partially shielded by the basin and faucet hardware. Not every layout allows this placement, but when the geometry works, experienced fabricators will prioritize it to minimize visual impact on the finished surface.
On island countertops, try to position any required seam closer to one end than dead center. A seam at the 1/3 or 2/3 point of an island reads less prominent to the eye than a seam splitting the island exactly in half, and it creates a better overall design balance.
Slab patterns have more influence on seam visibility than almost any other factor — including craftsmanship. On busy-pattern granites like Santa Cecilia or Giallo Ornamental, a well-placed and properly filled seam can be nearly invisible under normal viewing conditions. The varied mineral colors and crystal clusters in the stone give the eye too much to track for a thin joint line to stand out. On solid-color granites like Absolute Black, even a technically perfect seam will show some visibility up close — there's simply nothing in the pattern to disguise the joint. The natural beauty of each stone type sets the ceiling on how inconspicuous a seam can be.
Veining direction matters too. A seam cut through a quiet section of a slab — where the mineral pattern is relatively uniform on both sides — blends far better than a seam that cuts across a bold vein at a sharp angle. Experienced fabricators orient the cut to align the veining direction across the seam joint, so the pattern appears to continue in a straight line rather than abruptly stop and restart. This pattern-matching step is where the skill of the stone fabricator shows clearly.
Surface finish also affects perception. Polished granite reflects light directionally, which can highlight even small height differences at a seam — making the joint more noticeable in raking light. A honed or matte finish scatters light, making the seam joint read softer and less prominent. That said, finish doesn't compensate for poor workmanship — a gap with mismatched color looks bad in any finish. The natural beauty of the stone and the skill of the fabricator work together; neither one substitutes for the other.
The Natural Stone Institute sets the benchmark for acceptable seam work on stone countertop installations: seams must be no wider than 1/16 inch, filled with color-matched epoxy or resin, and the two pieces must lay flat with no more than 1/32 inch of height difference — called lippage — between them. A seam that meets these specs will feel like a smooth surface to the touch and read as a thin, tight line. Not a gap, not a ridge, not a noticeable color break.
The adhesive system matters significantly. Most granite seams use a polyester resin with hardener, which cures in 20–30 minutes and tolerates a gap up to 1/16 inch. Quartzite and some marbles go to epoxy instead for better bond strength and flexibility. Color matching the filler to the specific stone is a skilled step — fabricators blend pigments into the resin to match the dominant color of each slab at the seam location. A mismatch here — a light gray filler on a gold-tone granite, for example — will make the seam more noticeable than the joint itself. Quartz countertops present the biggest matching challenge of all: the engineered material's uniform color and pattern leaves no natural variation to cover a color mismatch in the filler.
On high-value jobs, skilled fabricators dry-fit the two seam pieces at the shop before delivery to confirm pattern alignment and seam length fit. Discovering a poor pattern match at the customer's home — with no saw available — is significantly more expensive and harder to resolve than catching it at the shop. This dry-fit step is a mark of professional countertop fabrication and one worth asking about when you compare fabricators.
Run your fingernail across the finished seam. You should feel no ridge or step — the two surfaces should feel like one continuous piece. If you feel a lip greater than 1/32 inch, or see a gap wider than 1/16 inch, that's a workmanship issue worth raising before the installation crew leaves.
The templating appointment is your last clear opportunity to influence seam placement. Once the template is cut and the slab is marked for fabrication, moving a seam means re-cutting stone — adding real cost and potential lead time. During templating, ask your fabricator to walk you through the complete seam plan: how many seams, where each one lands, why that location was chosen, and whether a seam-through-sink placement is possible for your specific layout.
Confirm the structural rules are followed: no seam within 6 inches of an inside corner (8–12 is better), no seam over the dishwasher opening, and proper cabinet support on both sides of every joint. If your fabricator uses in-house fabrication with precision templating software, they should be able to show you the layout digitally before a single cut is made. That removes guesswork and gives you a clear, accurate picture of the finished installation process — seam locations included.
For Austin, San Antonio, and Central Texas homeowners, this conversation is easiest when your fabricator does their own templating and cutting in-house rather than handing off to a subcontractor. Direct communication between the person who templates and the person who cuts means seam placement decisions don't get lost in translation. At Fox Granite, our team handles templating, fabrication, and installation in-house — so the seam plan you agree on at the template appointment is exactly what gets executed on installation day, with no hand-offs and no guesswork.

The most common source of seam disappointment isn't poor craftsmanship — it's no conversation at all. Homeowners assume seams will be invisible; fabricators assume the homeowner understood the layout constraints. Close that gap at your templating appointment. Ask where every seam lands, why it's placed there, and what the seam will look like in your specific stone. On solid-color granite or quartz countertops, set your expectation that the seam will be visible up close — and that done right means tight, flat, and color-matched, not invisible. On a busy-pattern granite, a well-placed seam can genuinely be hard to find. Know which outcome your material allows before installation day.
When a granite seam is placed correctly — away from inside corners, never over appliances, run through the sink cutout when the layout allows — and executed to Natural Stone Institute standards, it becomes part of the stone rather than a distraction from it. The seams blend into the overall design, and the surface reads as one continuous, durable countertop. For granite countertops in Austin, San Antonio, New Braunfels, Round Rock, and across the Central Texas area, trust Fox Granite. Our in-house fabrication team handles every step — templating, cutting, and installation — so your seam plan is executed exactly as discussed. Contact us today to schedule your free in-home consultation and get your free estimate.
Ready to get started? Contact Fox Granite today.


BY APPOINTMENT ONLY
1379 Wald Road
New Braunfels, TX 78132
Austin, San Antonio, Cedar Park, Kyle, New Braunfels, Del Valle, Elgin, Lago Vista, Shady Hollow, Onion Creek, Buda, San Marcos, Lockhart, Temple, Wimberley, Dripping Springs, Bee Cave, Lakeway, Leander, Anderson Mill, Jollyville, Spicewood Springs, Round Rock, Georgetown, Pflugerville, Manor, Taylor, Manchaca, Mountain City, Hutto, West Lake Hills, Bastrop, Liberty Hill, Driftwood, Sun City, Steiner Ranch.